
The 60-Second Price Comparison Workflow for Any Skin
Comparing prices across the CS2 market sounds like homework, which is why most buyers don't do it and routinely overpay. But done with a routine instead of ad-hoc tab-hopping, a solid comparison takes about a minute. This is the routine: one aggregator pass, two venue checks, one fee adjustment, one decision rule. Same steps for a $3 pistol skin or a $300 rifle.
Why a workflow beats "just checking around"
Unstructured comparison fails in two directions. Either you check one extra site, see a similar price, and conclude the market is efficient (it isn't — spreads between venues are structural), or you fall down a ten-tab rabbit hole comparing float values on listings you were never going to buy. A fixed workflow bounds both failure modes: enough checks to catch the spread, a hard stop so optimizing doesn't eat your evening.
The other advantage of a routine is that it makes fee adjustment automatic. The single most common comparison mistake is ranking venues by sticker price when deposit fees, payment markups, and FX can move a venue several percent in either direction. A workflow that bakes the adjustment in can't forget it.
The workflow, step by step
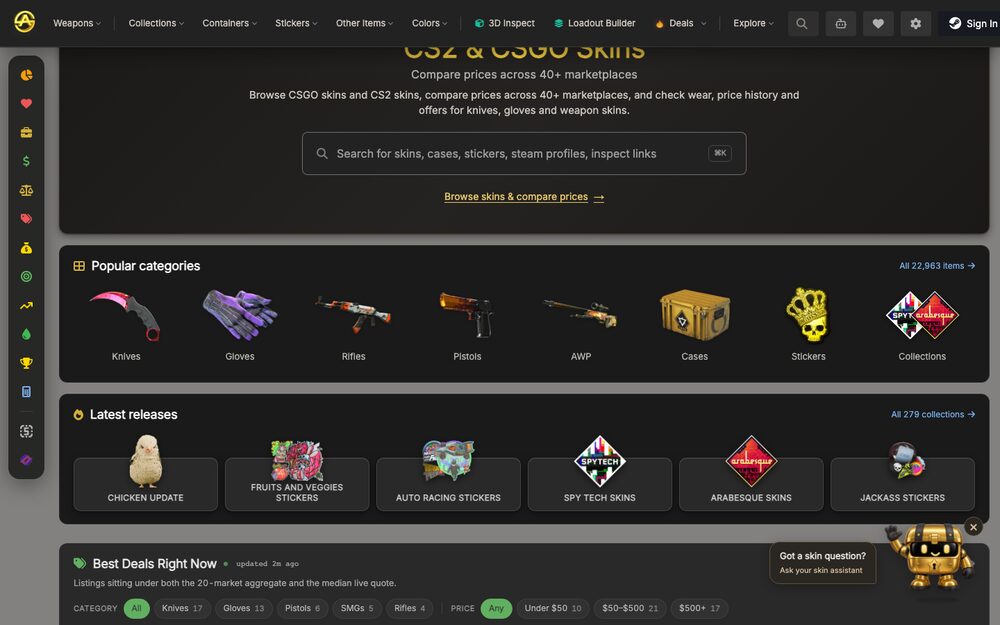
- Aggregator pass (15 seconds). Look the item up on a cross-market price aggregator — Pricempire is the usual starting point. You're extracting two numbers: the cross-market low and the Steam price. The Steam price is your ceiling; the cross-market low is your target zone. Aggregator data lags real listings by minutes to hours, so treat it as a map, not a quote.
- Venue check one (15 seconds). Open the item on your primary cash marketplace and find the real current low. If you browse with a comparison overlay installed — BetterFloat and SkinSniper-style extensions inject other venues' prices directly into listing pages — this step happens passively while you look at the listing.
- Venue check two (15 seconds). Check one competing venue from a different tier — if your primary is a convenience market, check a workhorse cash market like DMarket or SkinBaron. On any given day either one can be cheaper, which is exactly why the second check earns its keep.
- Fee adjustment (10 seconds). Add each venue's real cost to the sticker: payment or deposit fee, FX conversion if the venue prices in another currency, and any balance top-up markup. You only need to work these numbers out once per venue; after that the adjustment is mental arithmetic. The fee comparison has the ranges, but verify against each venue's own schedule — they change.
- Decision (5 seconds). Buy the cheapest fee-adjusted listing if it's at or under your target zone. If everything is above it, don't negotiate with yourself — set an alert or a buy order and walk away.
Adjustments worth making — and ones that aren't
Two refinements pay for themselves. First, for wear-sensitive skins, make sure you're comparing like for like: a Field-Tested listing at the Minimal Wear price isn't a data point, and within a wear tier float differences can justify small premiums. Second, if you plan to resell, mentally subtract the eventual sale-side fee from your target — a skin bought to flip on a venue taking a double-digit commission needs a deeper entry discount.
Refinements that usually aren't worth it inside a routine purchase: chasing the P2P discount tier for small items (the delivery friction eats the saving), comparing more than three venues (diminishing returns set in fast), and re-checking the aggregator after your venue checks (you already have fresher data than it does).
When to stop optimizing
The workflow has a built-in stop, and it matters more than any individual step. Price comparison has sharply diminishing returns: the first extra venue check routinely saves 5–15%, the fourth one saves pennies. If you find yourself twenty minutes deep comparing float decimals on a $8 skin, you've converted a money problem into a time problem and made both worse.
A useful calibration: your time floor. Decide what an hour of your attention is worth, and don't spend comparison effort past the point where the plausible saving drops below it. For items under a few dollars, the aggregator pass alone is often enough. For three-figure items, the full workflow plus a patience window is clearly worth it. For everything between, sixty seconds is the honest sweet spot.
Making the minute disappear entirely
If you buy the same items repeatedly — cases on a schedule, a watchlist of skins you're accumulating — even sixty seconds per purchase stops making sense, because the comparison is identical every time. That's the one slice of this workflow that automates cleanly, and it's what cs2stack does: a free account gets you a monitoring sheet showing the live lowest price across DMarket and SkinBaron for every item you track, so steps two through four are just... a page you glance at. The one-off purchase workflow above still matters for everything else — no tool covers the whole market, and the habit of never buying blind transfers to every venue you'll ever use.
Either way, the principle is the same one that runs through every venue guide on this blog: the spread between marketplaces is the most dependable discount in CS2, and collecting it requires nothing but a routine that takes less time than queueing for a match.